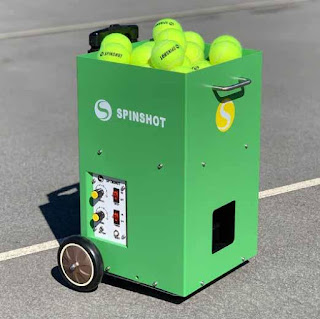
Tennis Ball Machine Making.
'
Making a tennis ball
machine requires a good understanding of mechanics, electronics, and
programming. It also requires specialized tools and materials, as well as a
significant amount of time and effort. Here is a basic overview of the steps
involved:
1.
Design the machine: Start by designing the machine on
paper, including the size, shape, and features you want it to have. You will
need to consider factors such as the number of balls it can hold, the speed and
trajectory of the balls, and the power source.
2.
Gather materials: Once you have a design in mind, you
will need to gather the necessary materials. This may include motors, gears,
wheels, batteries, sensors, and other electronic components. You will also need
tools such as drills, saws, and soldering irons.
3.
Build the frame: Begin by building the frame of the
machine, using materials such as wood, PVC, or metal. This will serve as the
foundation for the rest of the components.
4.
Install the motor and wheels: The motor will power the
machine and the wheels will control the speed and trajectory of the balls.
Install these components according to your design.
5.
Install the ball feeder: The ball feeder will release
the balls one at a time. This can be done using a hopper, conveyor belt, or
other mechanism.
6.
Add electronics: Install sensors and controllers to
regulate the speed, direction, and timing of the balls. This may involve
programming microcontrollers or using off-the-shelf modules.
7.
Test and refine: Once the machine is built, test it and
make adjustments as needed. You may need to tweak the trajectory, adjust the
ball feeder, or modify the electronics.
Building a tennis
ball machine is a complex project that requires a lot of time and
effort. If you do not have experience with mechanics, electronics, and programming,
it may be best to purchase a pre-made machine or work with an experienced
builder.


Comments
Post a Comment